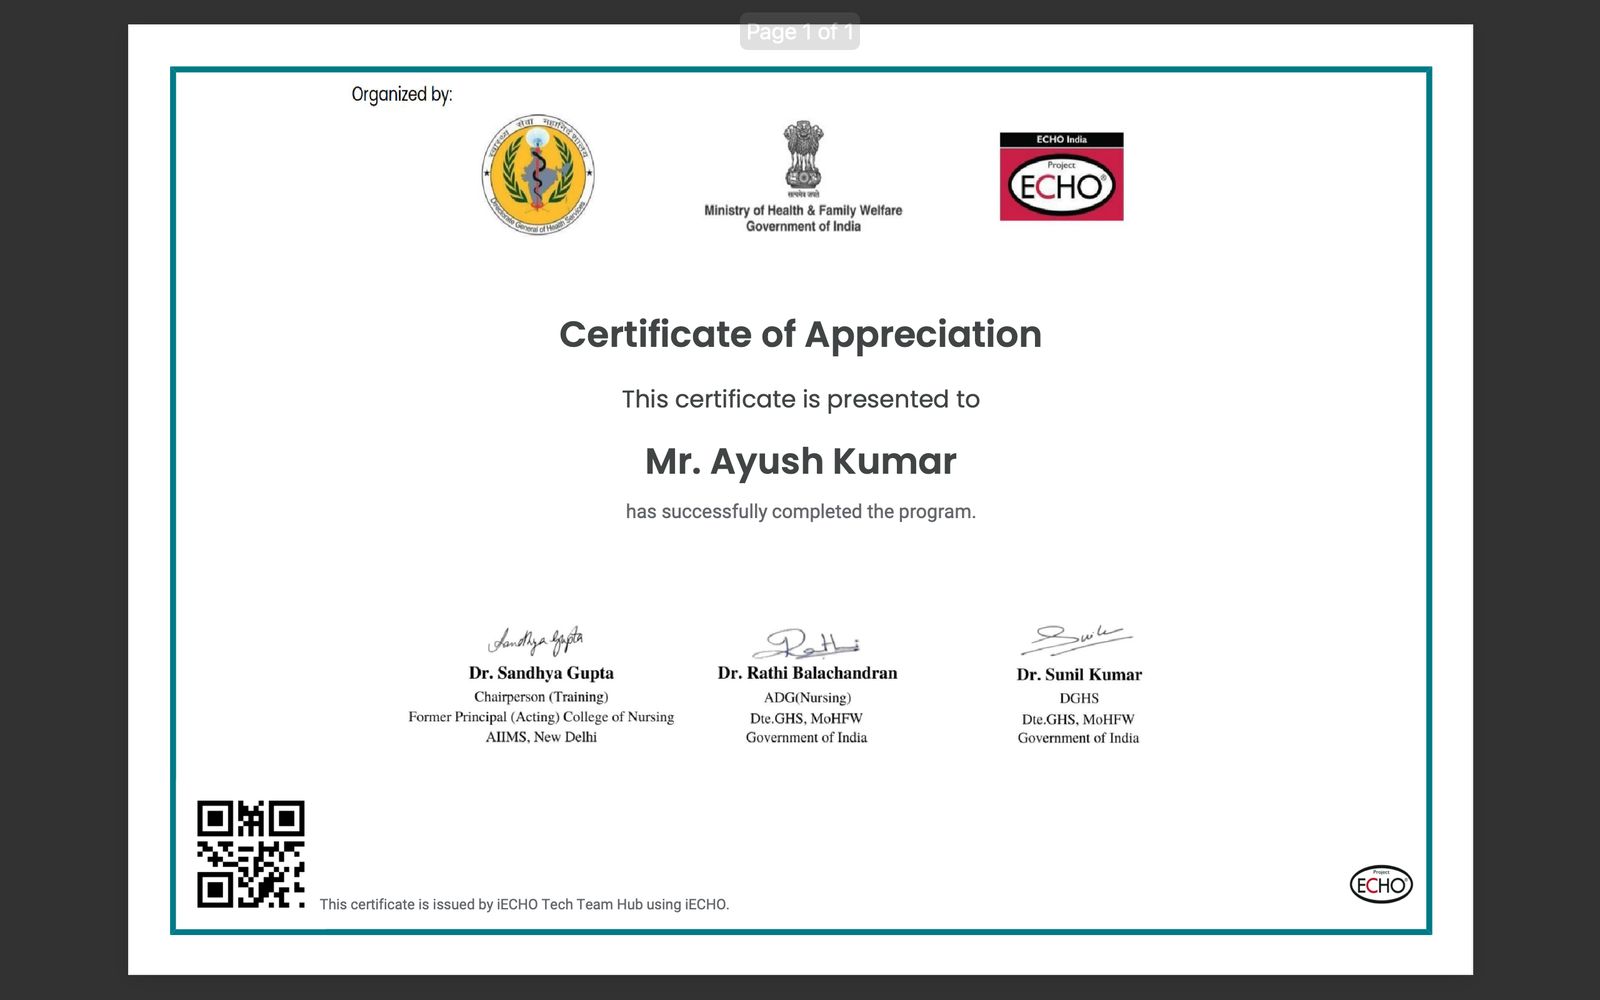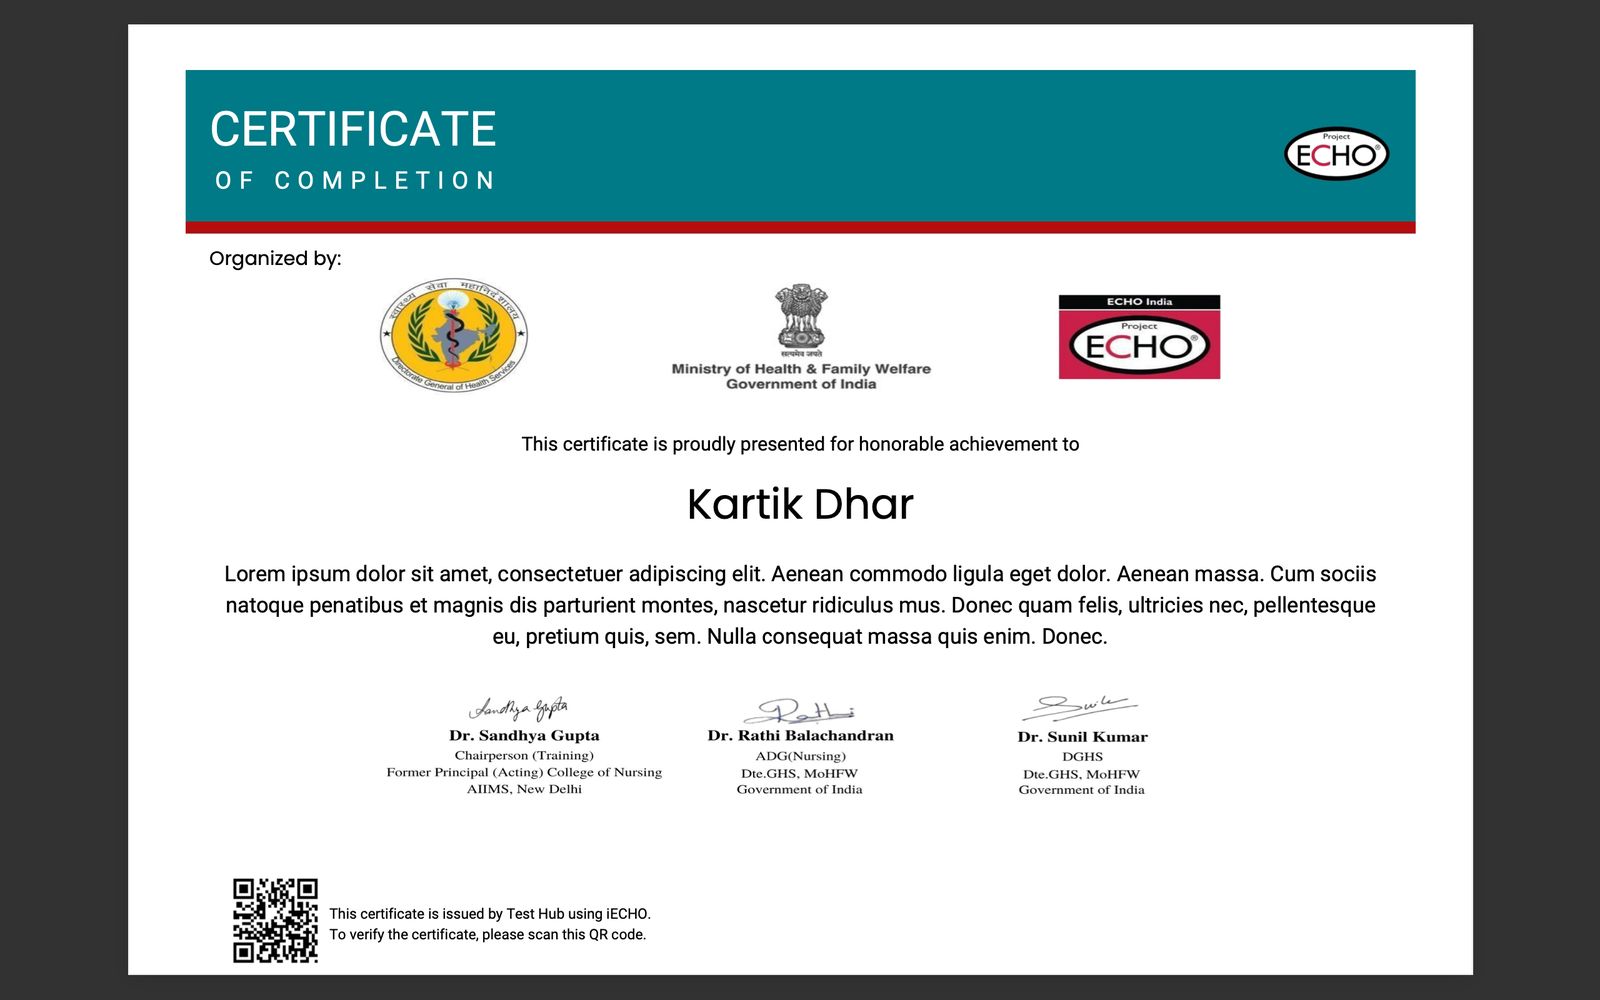

iECHO simplifies issuing certificates for various milestones. Organizations can easily create and send certificates for participation, program completion, case presentations, and subject matter experts. This process ensures that all achievements are recognized and documented efficiently.
To create certificates, you need to enable certificate features for the program by turning on the toggle for Provide certificate while creating the program. Refer to the image below:
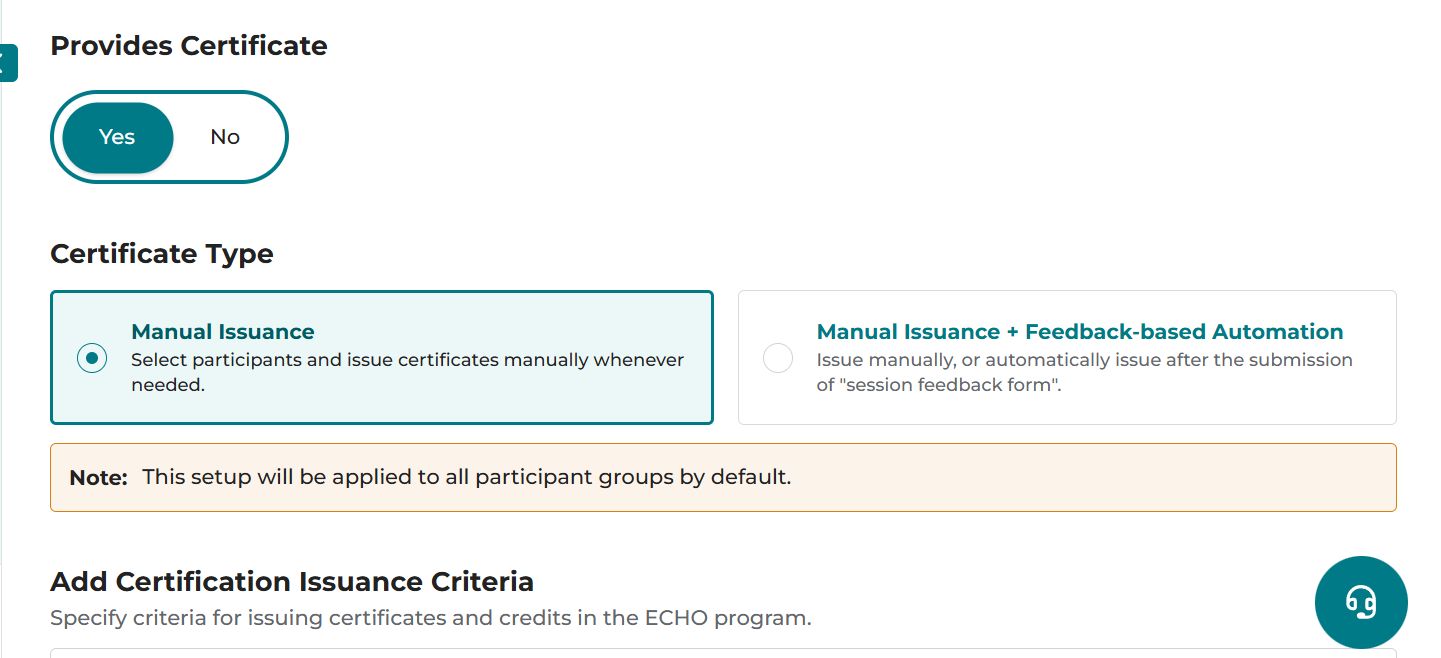
Certificates will be sent to the registered email and phone number with a download option. They are also accessible through the View Certificates section in the user profile.
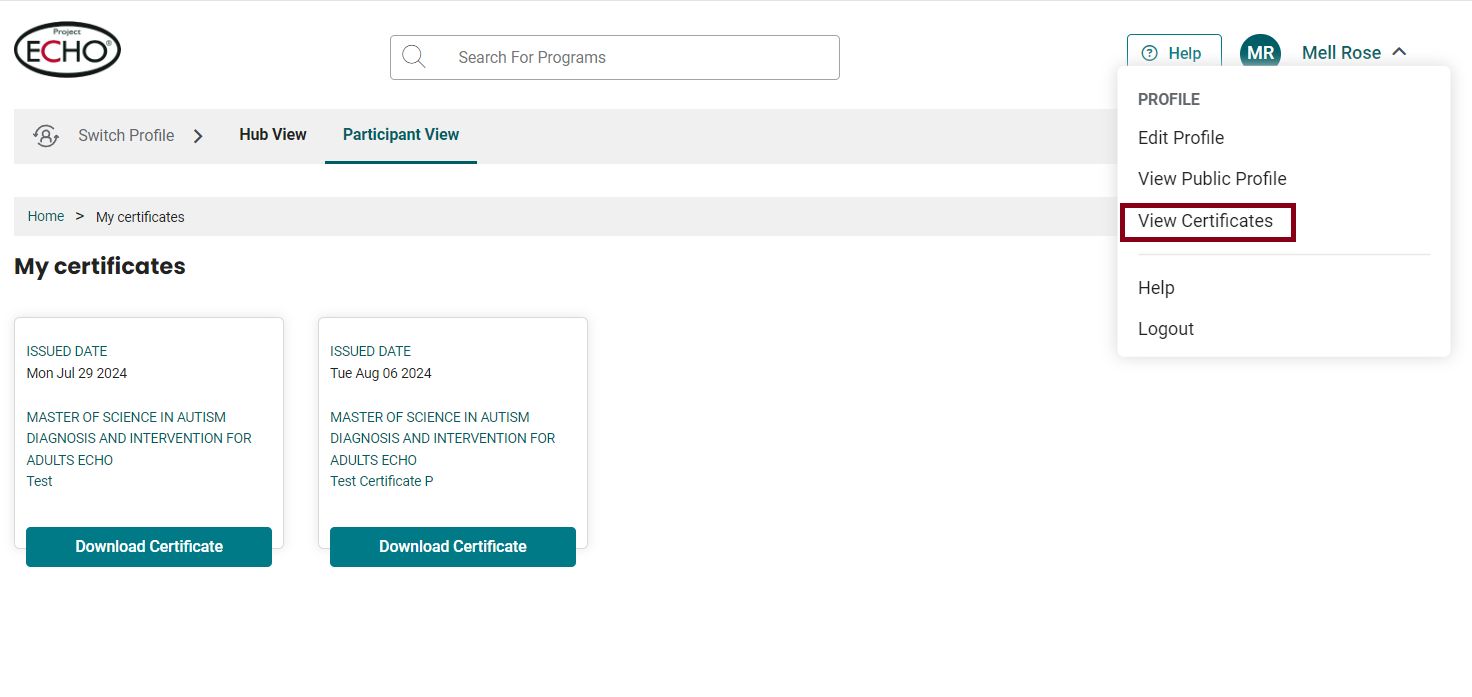
Enhancements: The Select All option in the Participants tab automatically selects participants who have an email address as their primary contact, making certificate issuance more efficient.
Here is how you can create and issue certificates:
- From your iECHO Homepage, open the left panel and select All Programs.
- Select the program and participant group for which you want to send certificates.
- In the Participants section, click Active Participants.
- Choose to Issue Certificate either to all participants or to individuals as needed.
iECHO allows certificates to be issued either in bulk or individually.
To save time, all fields in the certificate creation process are automatically populated with details from the most recently issued certificate.
- Bulk Certificates: Select the checkbox next to Participant to Issue Certificates to all participants in the group. This option can be used for completion certificates, participation certificates, and more.
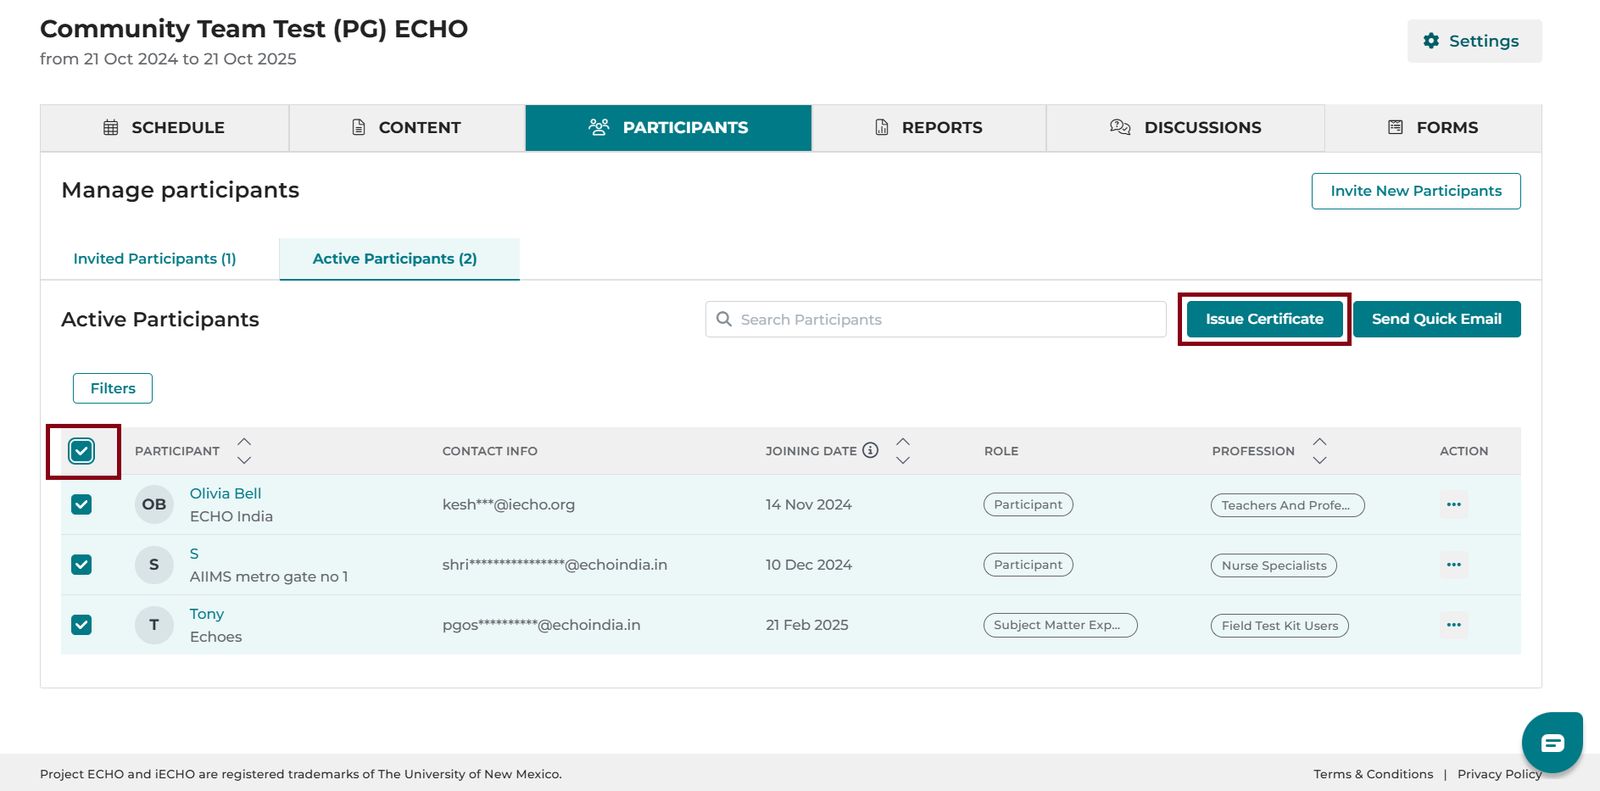
- Individual Certificates: Select the checkbox next to a participant's name to issue a certificate to an individual attendee. This option can be used for case presenters, subject matter experts, and more.
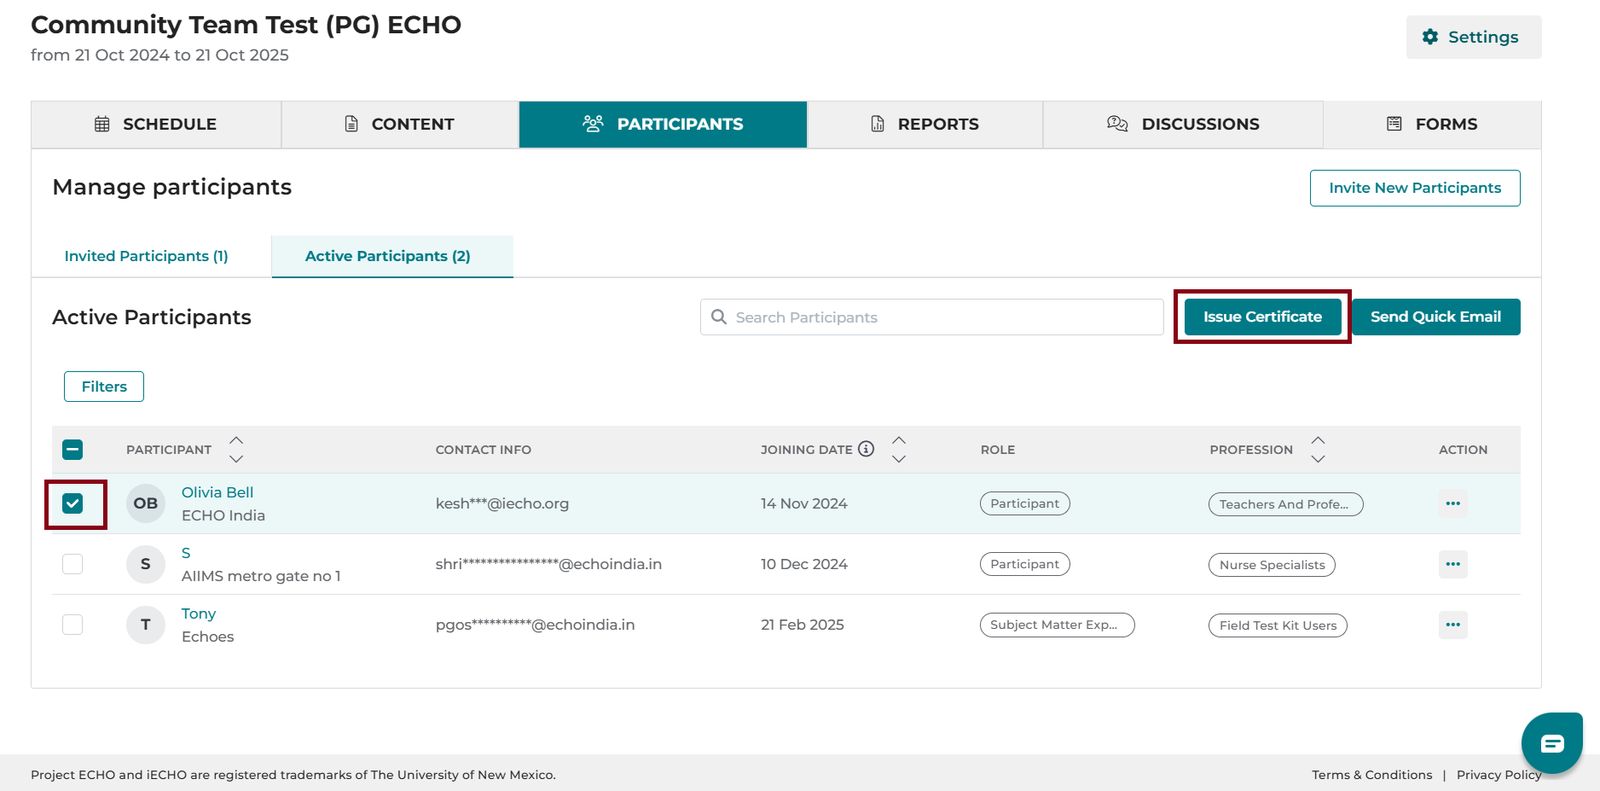
- Click Issue Certificate.
- Select the template type: Modern or Classic.
- Click Create Header Image.
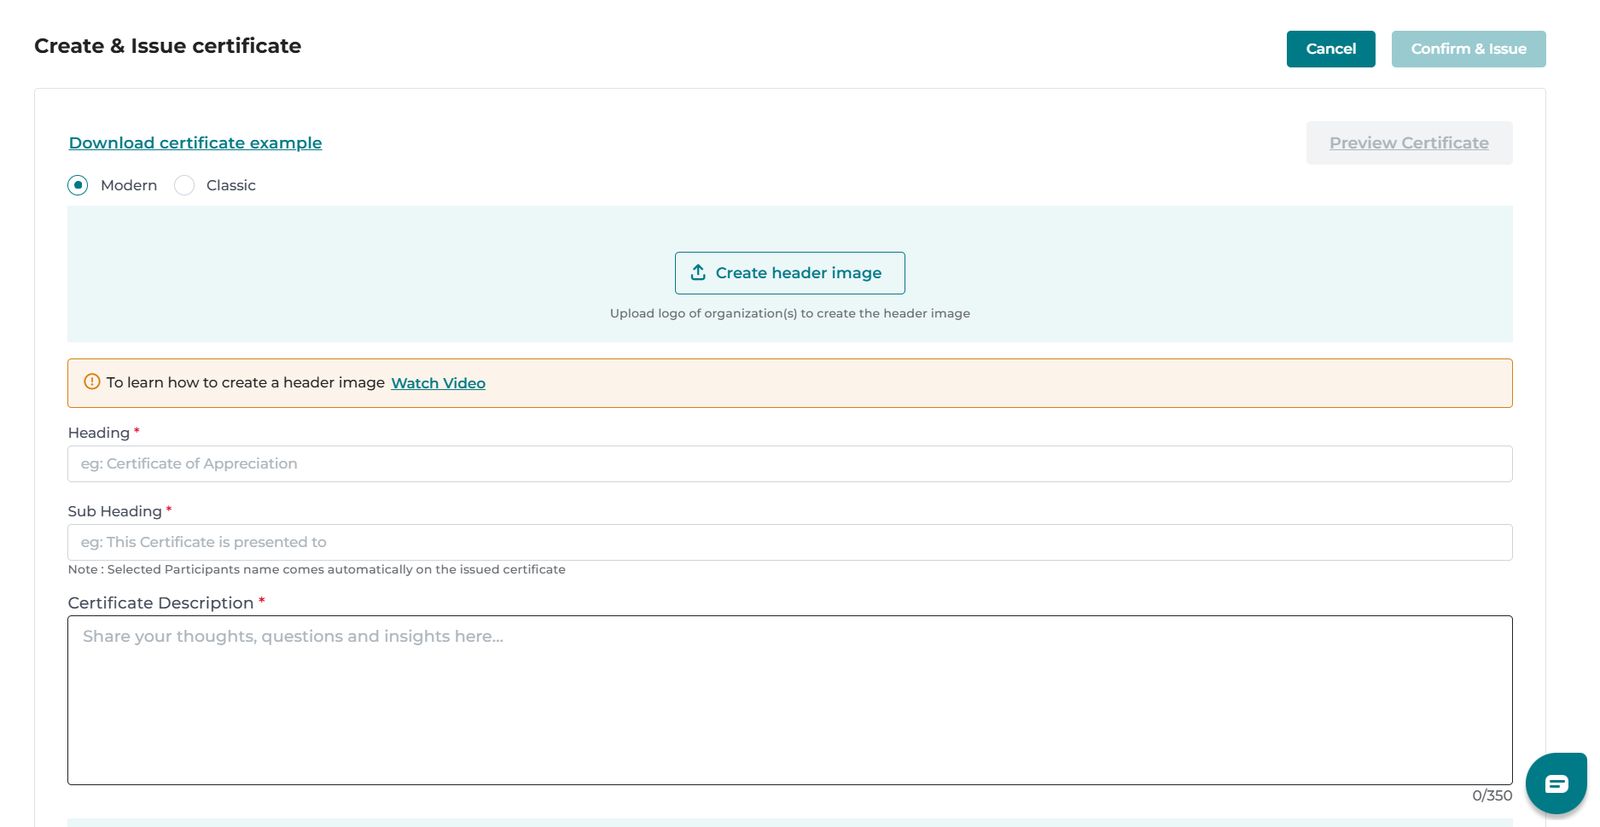

- iECHO will open the image generator. From the left menu, select Sticker.
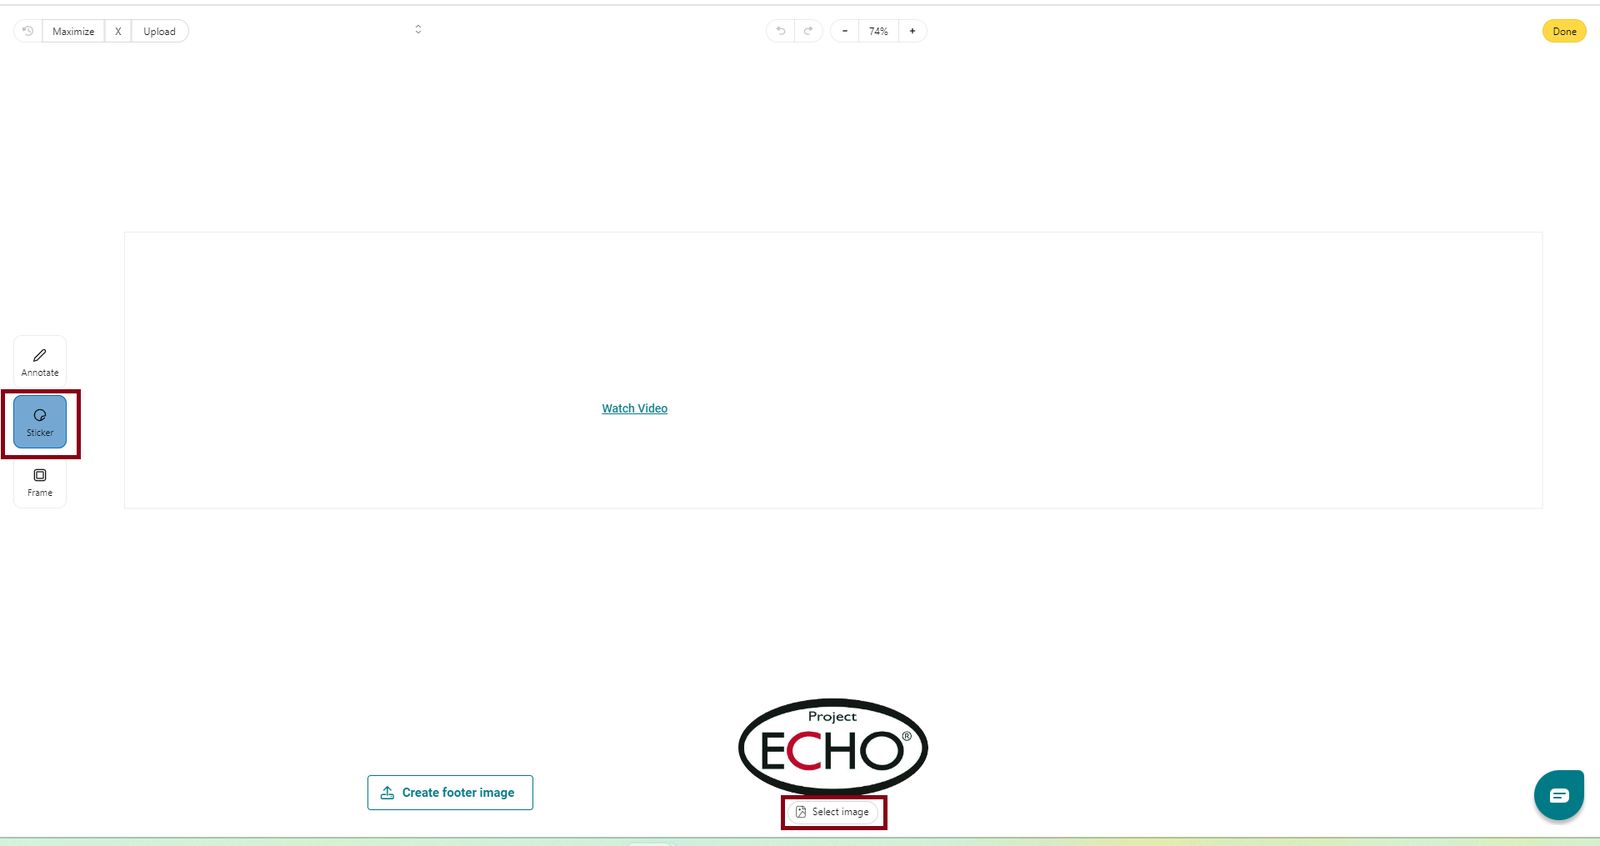
- Click Select Image to upload your organization’s logo.
For convenience, the Project ECHO logo is available for selection. Multiple logos can be added to the certificate header image.
- Click Done once the logos are arranged, then click Upload to confirm.
- Click Create Footer Image.

- Click Sticker to upload a signature image.
- Click Annotate to add text. Use Sharpie to format or enhance text.
Note:
- To upload an existing header image, click Select Image and drag it onto the canvas to set it as your header.
- To add text under a logo or signature:
- Select Annotate from the left menu.
- Choose Text and click on the canvas to begin typing.
- To reposition the text, click and drag it to the desired location.
- To duplicate, edit, or delete text, click on the text box and select your action.
- To change a header or footer image, click Remove on the creation page.
QR code verification of authenticity
Every certificate issued to participants includes a unique QR code linked to the program to authenticate the certificate.
Anyone who wishes to verify the authenticity of a certificate can scan the QR code to view detailed information about the completed program.
If you encounter a certificate that does not match the verified details, please contact us at support@iecho.org.
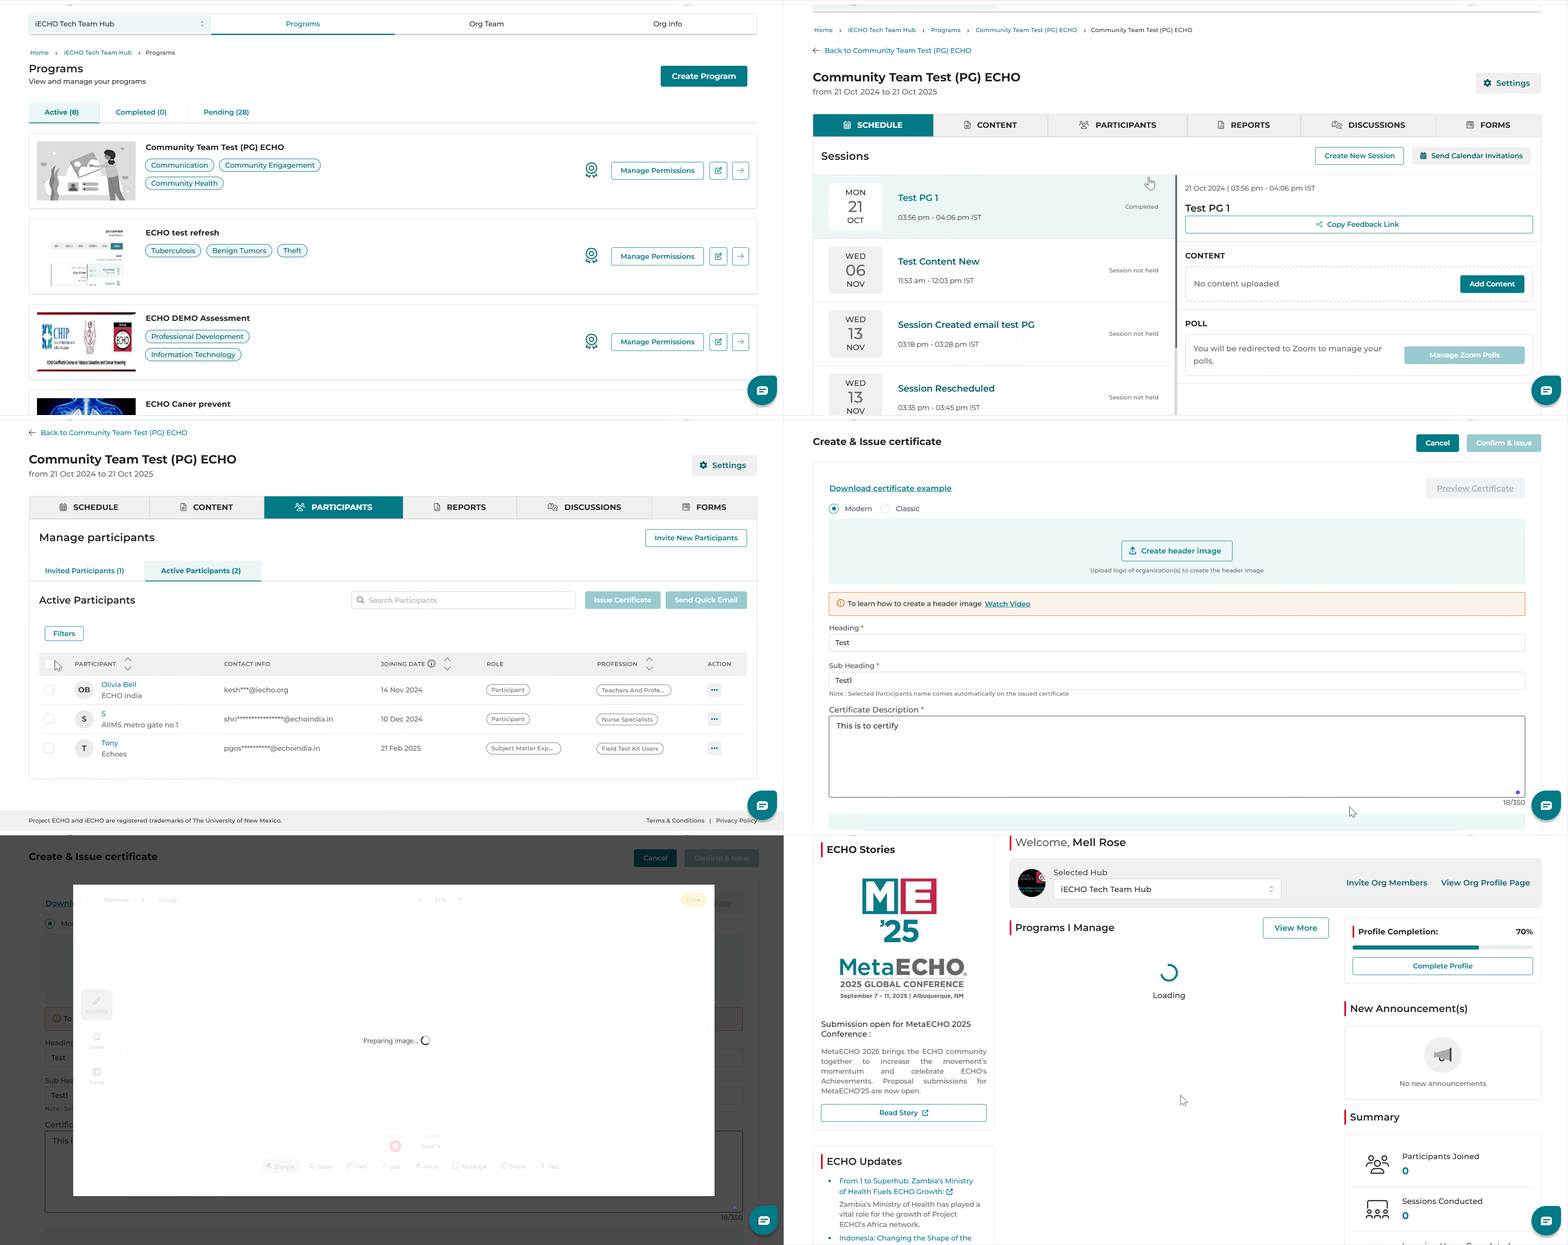
Watch this tutorial on how to issue certificates:
Automatic certificate issuance after feedback surveys
To automatically issue certificates to participants after a session feedback survey, email the following details to support@iecho.org:
- Header image: Use this PowerPoint template to create a header image: Download template
- Heading (e.g., Certificate of Attendance).
- Sub-heading (e.g., This certificate is presented to).
- Certificate description (e.g., Has successfully attended the program...).
- Footer image: Use this PowerPoint template to create a footer image: Download template
- Program name.
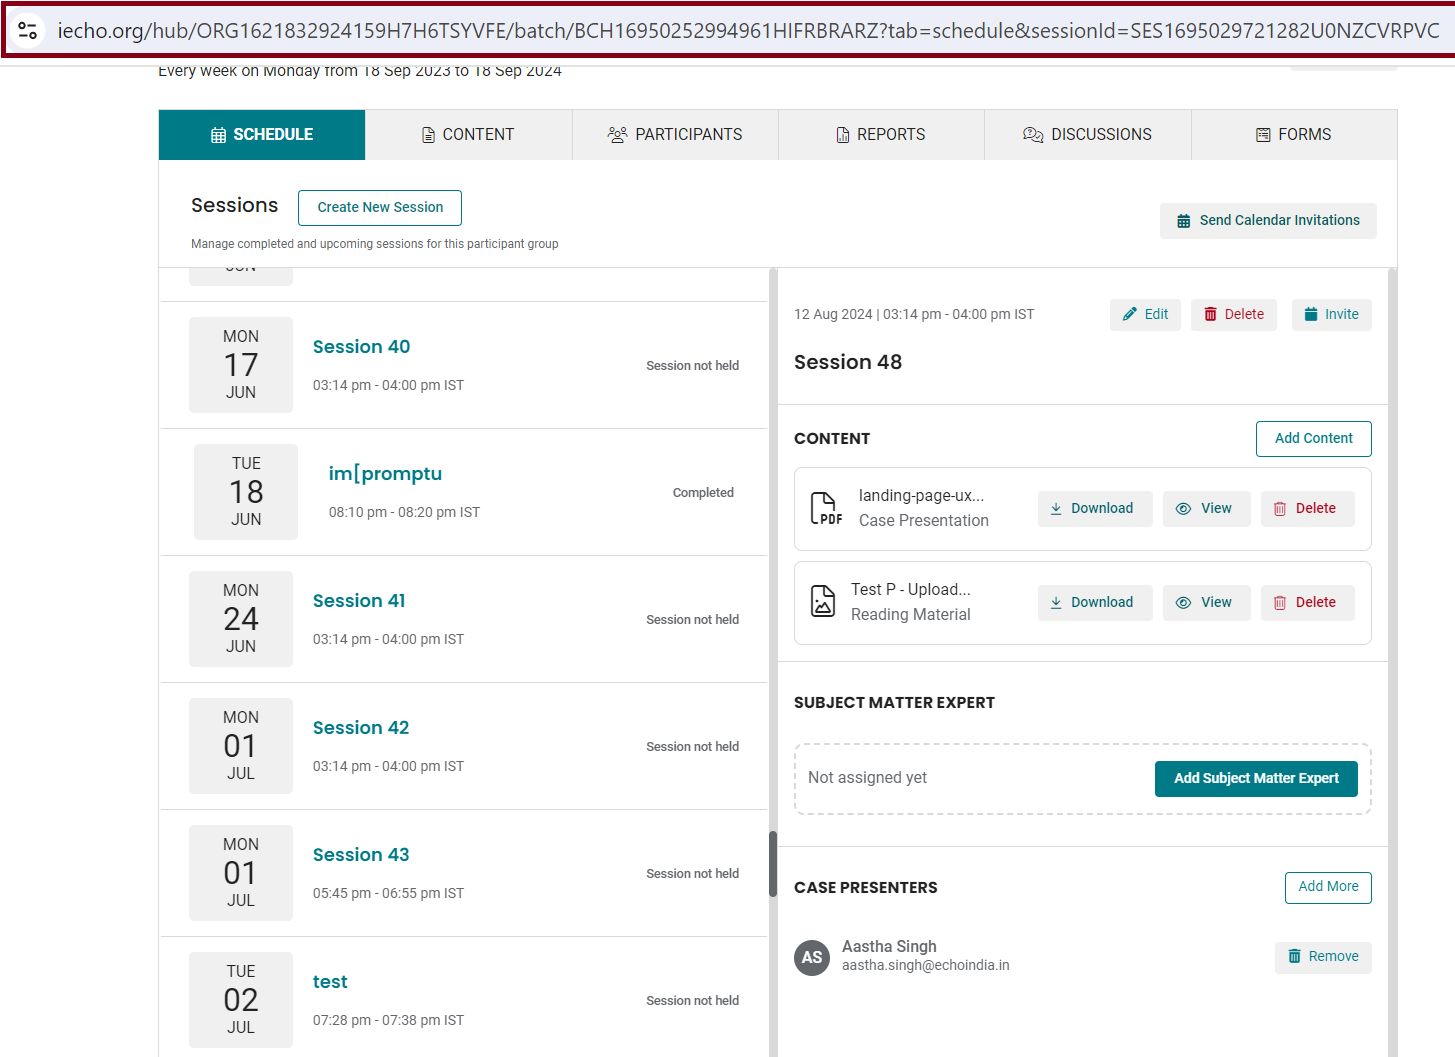
- Participant group URL (copied from the share button on the Participant Group page).
Here are sample certificates for your reference: